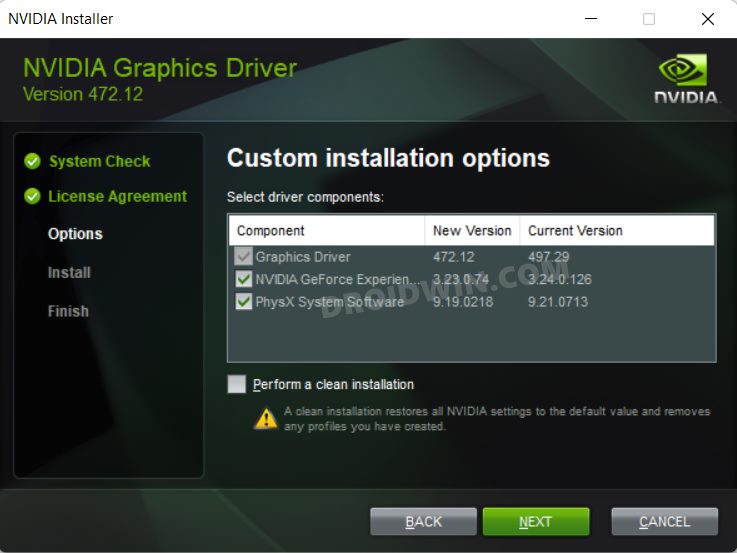
In this regard, the Nvidia drivers are a prerequisite for managing the Graphics drivers on your PC. it creates a bridge for the proper communication between the GPU and the Windows OS. Since these drivers communicate directly with the hardware, it is responsible and also influences whatever you see on the screen. Owing to all these reasons, it is always recommended to be on the latest version of the drivers. However, sometimes you might have to deviate from what is documented in the papers and check out how it fits in the practical aspect.
For example, there have been a few instances when an update to these drivers has broken the normal functionality of an app, software, or game. Along the same lines, the developers might also release a buggy update (though it’s a rarity with Nvidia) and could take a few days before it rolls out a patch for the same. So in all those scenarios, your best bet is to downgrade or rollback the Nvidia GPU Drivers to an earlier version on your Windows 11 PC. And in this guide, we will show you how to do just that. Follow along.
How to Downgrade/Rollback Nvidia GPU Drivers on Windows 11
There exist two different methods to carry out the said task. While there exist quite a few third-party apps that do this job, we wouldn’t be using them. Rather we will be doing the downgrade on our own, across both these methods. As to which one you should opt for, it is recommended that you go through both these methods once and try out the one that is in sync with your system requirement. So on that note, let’s get started with the instructions to downgrade or rollback the Nvidia GPU Drivers on Windows 11.
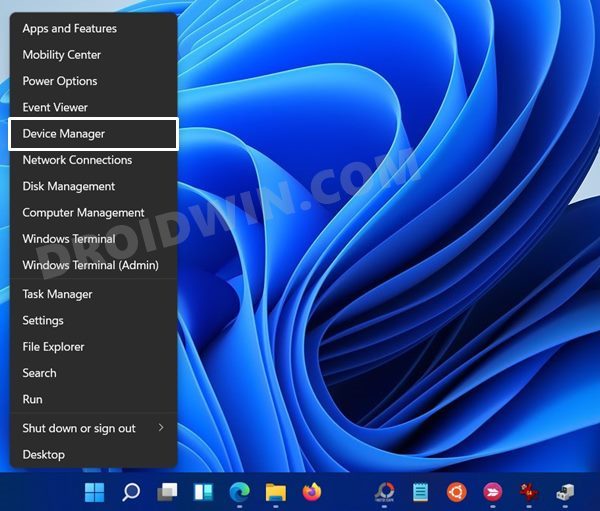
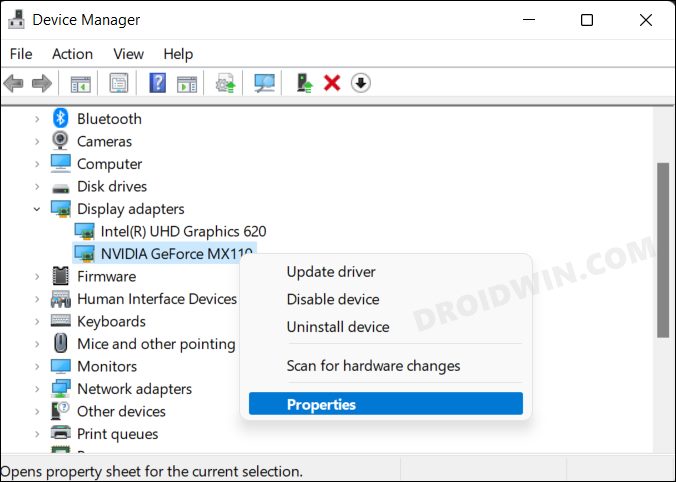
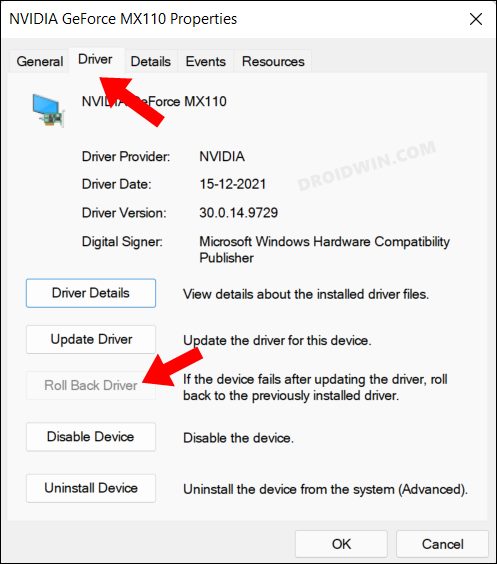
Method 1: Using Device’s Manager Roll Back Option
It is the shorter and easier of the two methods and would do the job in just a few clicks. However, not many users might be able to use this feature as the option might be greyed out for them (explained later). Anyways, let’s check if the option is present in your PC and if it is, then let’s make full use of the same. This was the first method to downgrade or rollback the Nvidia GPU Drivers to an earlier version on your Windows 11 PC. If this approach didn’t spell out success for you because the roll back button was greyed out, then do check out the second method given below.
Method 2: When Roll Back Driver Option is Greyed Out
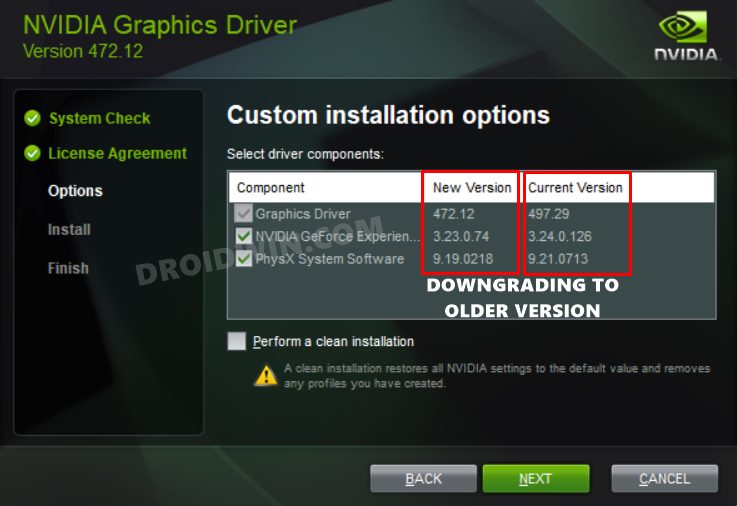
Windows will only be able to rollback to an earlier driver version if your PC has it in the first place. However, if you have uninstalled the currently installed drivers or this is the first time you are performing this downgrade, then there will be no earlier versions of the GPU drivers to which your PC could rollback. As a result of this, the roll back button is greyed out under Device Manager. So to rectify this issue, you will have to manually download and install the older GPU drivers versions on your PC. Here’s how.
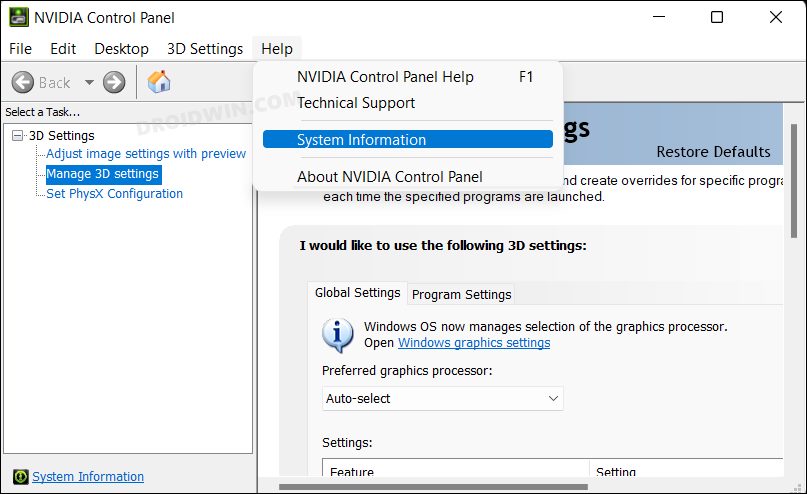
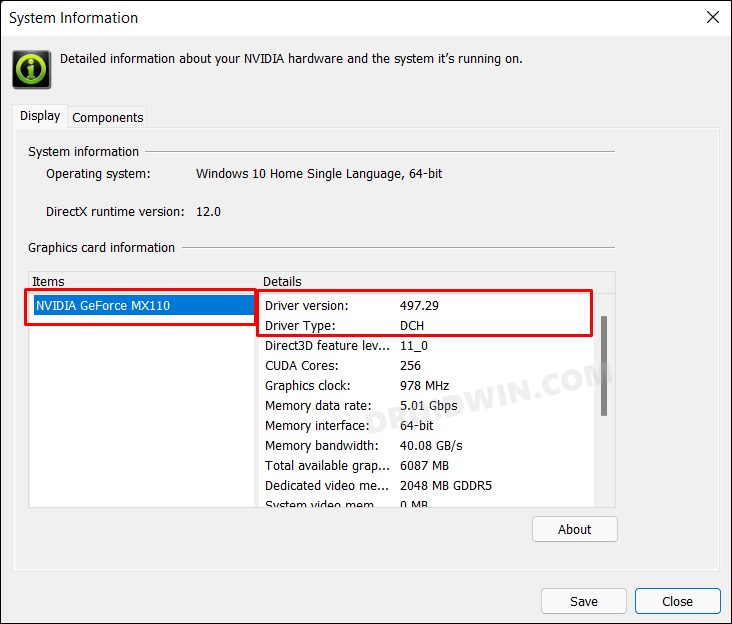
STEP 1: Check Driver Name/Version/Type
To begin with, you will have to get hold of some important information pertaining to the drivers installed on your PC. So refer to the below instructions to get started.
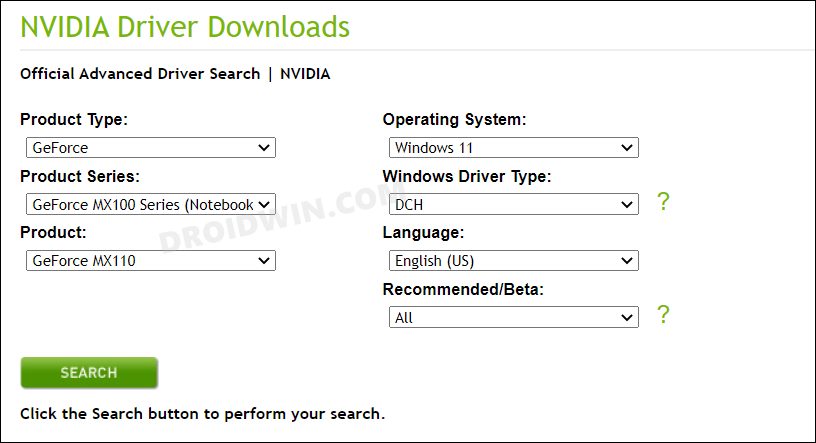
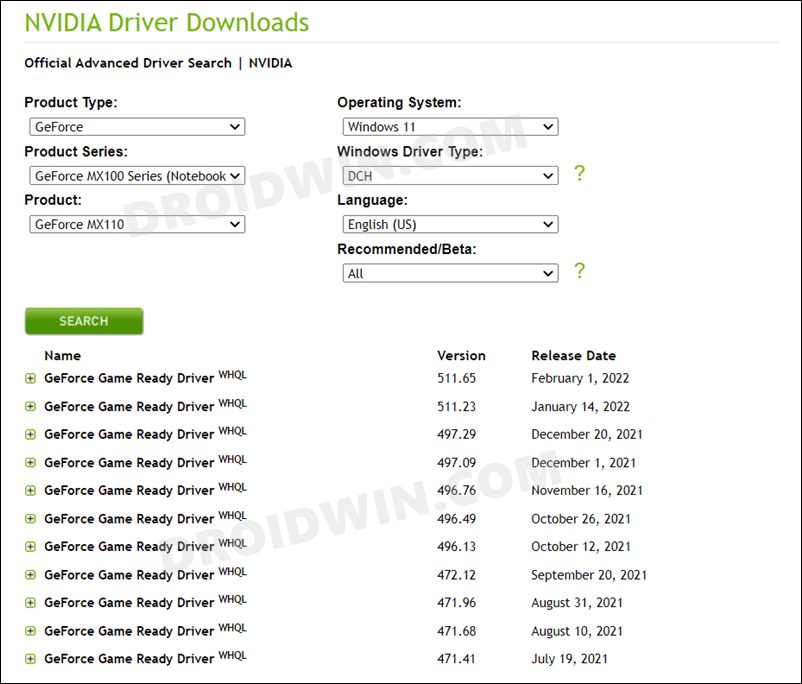
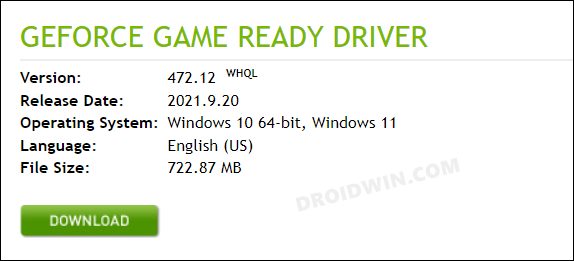
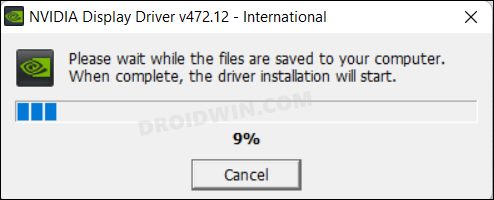
STEP 2: Download Nvidia GPU Drivers Rollback Driver
You will now have to download an earlier version of the Nvidia GPU Drivers. Here’s how it could be done:
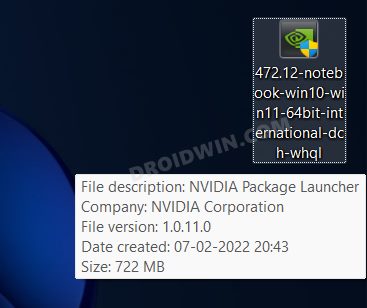
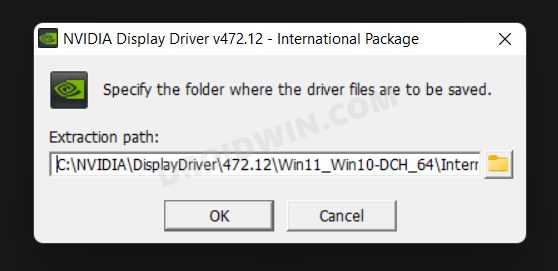
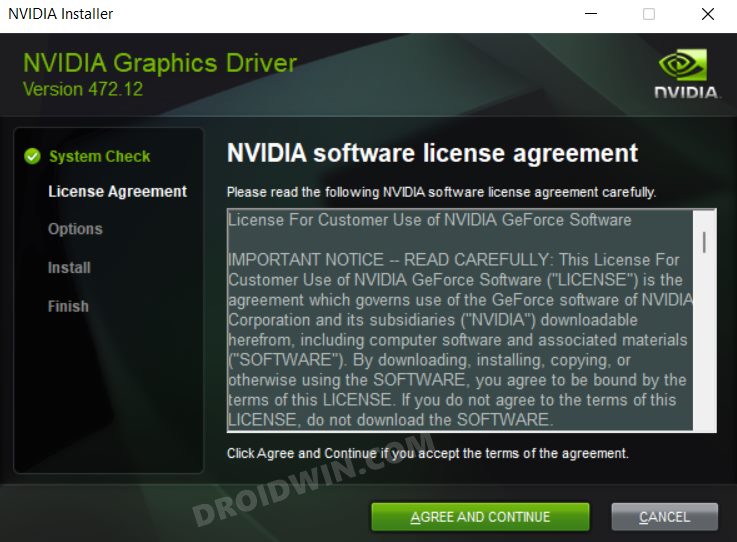
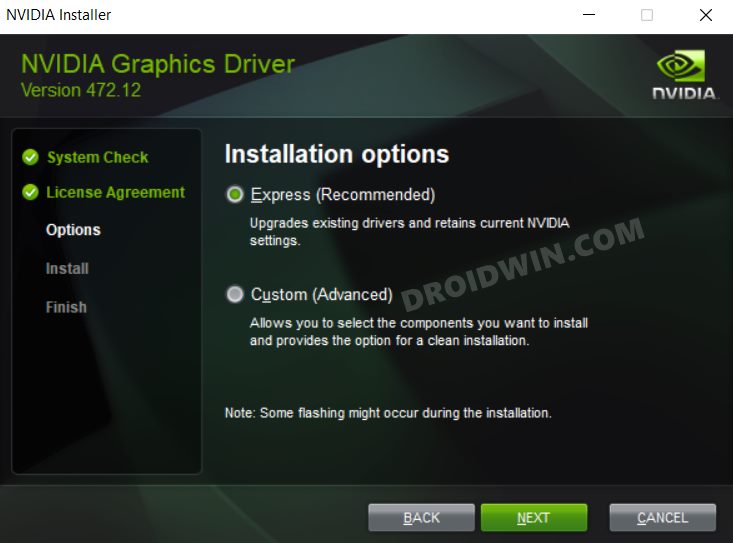
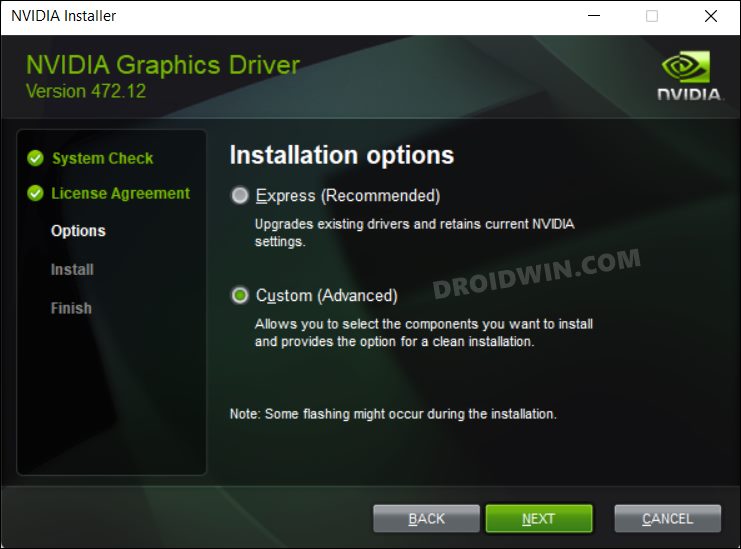
STEP 3: Install Nvidia GPU Rollback Drivers
That’s it. These were the two different methods to downgrade or rollback the Nvidia GPU Drivers to an earlier version on your Windows 11 PC. If you have any queries concerning any of these two methods, then do let us know in the comments. We will get back to you with a solution at the earliest.
Nvidia GeForce Experience not working in Windows 11 [Fixed]Nvidia Control Panel Not Opening in Windows 11: How to FixDisplay driver stopped responding and has recovered in Windows 11 [Fix]How to Install Windows 11 Built-In Graphics Tool
About Chief Editor
